Power outages can happen to anyone. Especially in winter when winter storms frequently take down the grid. Having a plan on how to heat your house, cook your food, and have water is essential. But if the outage lasts more than a few days your going to realize how essential electricity is to your everyday life. Without electricity your debit/credit card wont work, fuel stations cant pump gas, grocery stores can't sell their food, water systems can't pump water to your home, etc.. But it is often the more mundane things that stand out. Such as how are you going to clean and dry your clothes? Having redundant ways to heat your home, cook food, get water, and clean things will make life a whole lot more endurable during an extended power outage.
First off this post will focus on drying your clothes, washing will be another day and another post.

Drying clothes outside on a line is easy in summer. I have a great umbrella clothes line that I love and use to dry our typical three loads per day wash. But winter clothes drying is harder. First you cant dry outside very effectively. It is often windy (blowing clothes off the line), snowing/raining, and too cold for the clothes to dry. So having an inside way to dry your clothes is the best option.

First off having a non electric heat source is important. You
can dry clothes in an unheated winter room, but it takes
days! Space heaters work only if the electricity is up, and propane/natural gas stoves are dangerous and deadly. The best way of course is to have a wood stove or fireplace, wood stoves being the most efficient. We have a wood cook stove with an oven and burners to cook on. Its 100 years old but still heats our home very nicely when we open the oven door. I got it at a yard sale for $100.00 and it is a Lang Jr. The entire unit radiates heat and when the oven door is open it pumps out
lots of heat! The wood stove is an ultimate multi-tasking device. We can cook on it, bake in it, heat our home, and dry our clothing.

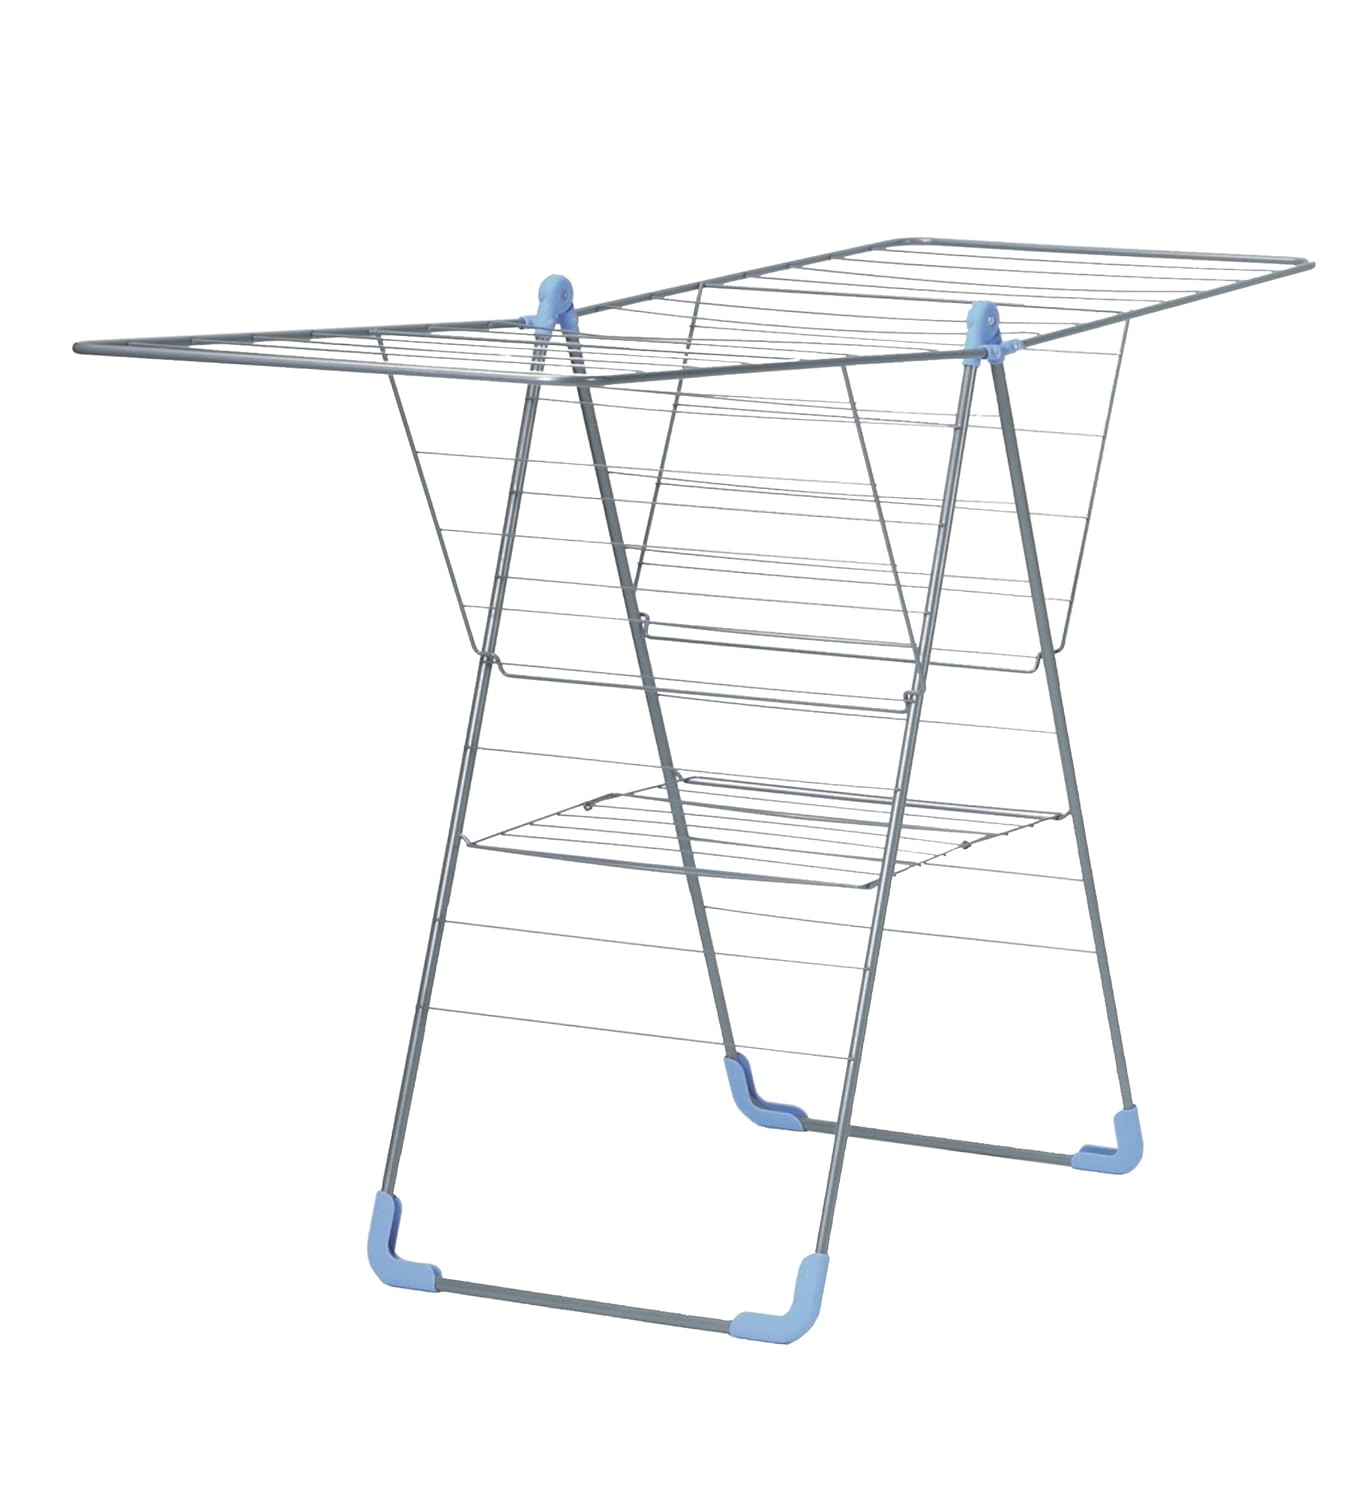
Most importantly you need something to hang the clothes on. I have an
Indoor Folding Clothes Line ($50.00) that you could use to lay flat things like sweaters but also can be used for hanging up to four full loads of clothing if you have clothes pins! It works very well and folds up flat for easy storage in our closet.

Our dryer just bit the dust so out came the folding clothes line. My husband lost his job right before Thanksgiving so we have absolutely NO money to spend down at a laundry mat. And with the size of our family we would be spending a ton of money just to dry our clothes. Until we can afford the part to fix the dryer I will be going old fashioned. Prepping for disaster isn't just about things like ice storms or hurricanes, it also means being prepared for job loss or major illness that cuts your income. Being prepared is just plain smart in my opinion. My preps in food and other things have saved us many a time when times have been lean.

There are several other types of units you can buy for drying clothes inside.
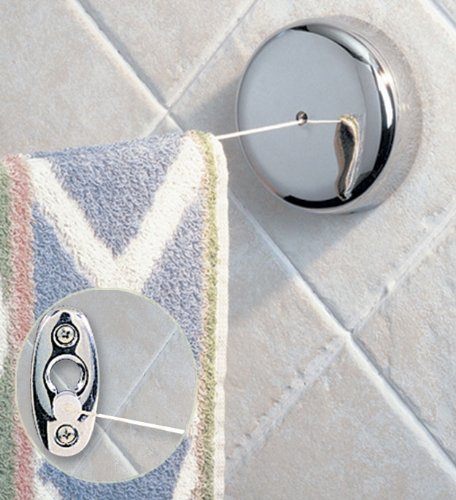
HERE is one that is just one line but would work well for a small family and is highly affordable at $10.00 and is kind of cool and retro looking.

And
HERE is a 5 line mini indoor dryer that I would be great in emergencies or even in a laundry room for a family. Very affordable at $8.69.

For the ultimate off grid laundry drying for emergencies, prepping, or just homesteading check out
THIS IDEA over at
Paratus Familia, it is called a drying horse that hangs ABOVE the wood stove. This is much more efficient because of course heat rises. The clothes dry faster and it keeps them out of the way. This is for true prepping or living off grid/more sustainably.
Now that I have seen how efficient our indoor clothes line is I am seriously thinking about using it instead of our dryer. Our dryer is one of the biggest energy hogs in the house and not using it ususally cuts our electric bill by a good $20.00 per month or more.
Note/disclamer: This post does contain affiliate links, if you buy or click I may get a small commission that does not affect your price, but would help me buy a new belt for our dryer. I was not solicited to do this post but wrote it up in reaction to our dryer going out and wanting to share how I deal with problems like that. As always I only share links to items that are, in my opinion, good deals and practical.