They actually work and I love mine!


 For years I have been buying very expensive all natural laundry soap from the store because my eldest son has allergies to any synthetic cleaners. I have learned so much about natural versus synthetic products directly because of his horrible eczema . It turns out his eczema is caused by any soaps, cleaners, and even air fresheners that are not all natural.
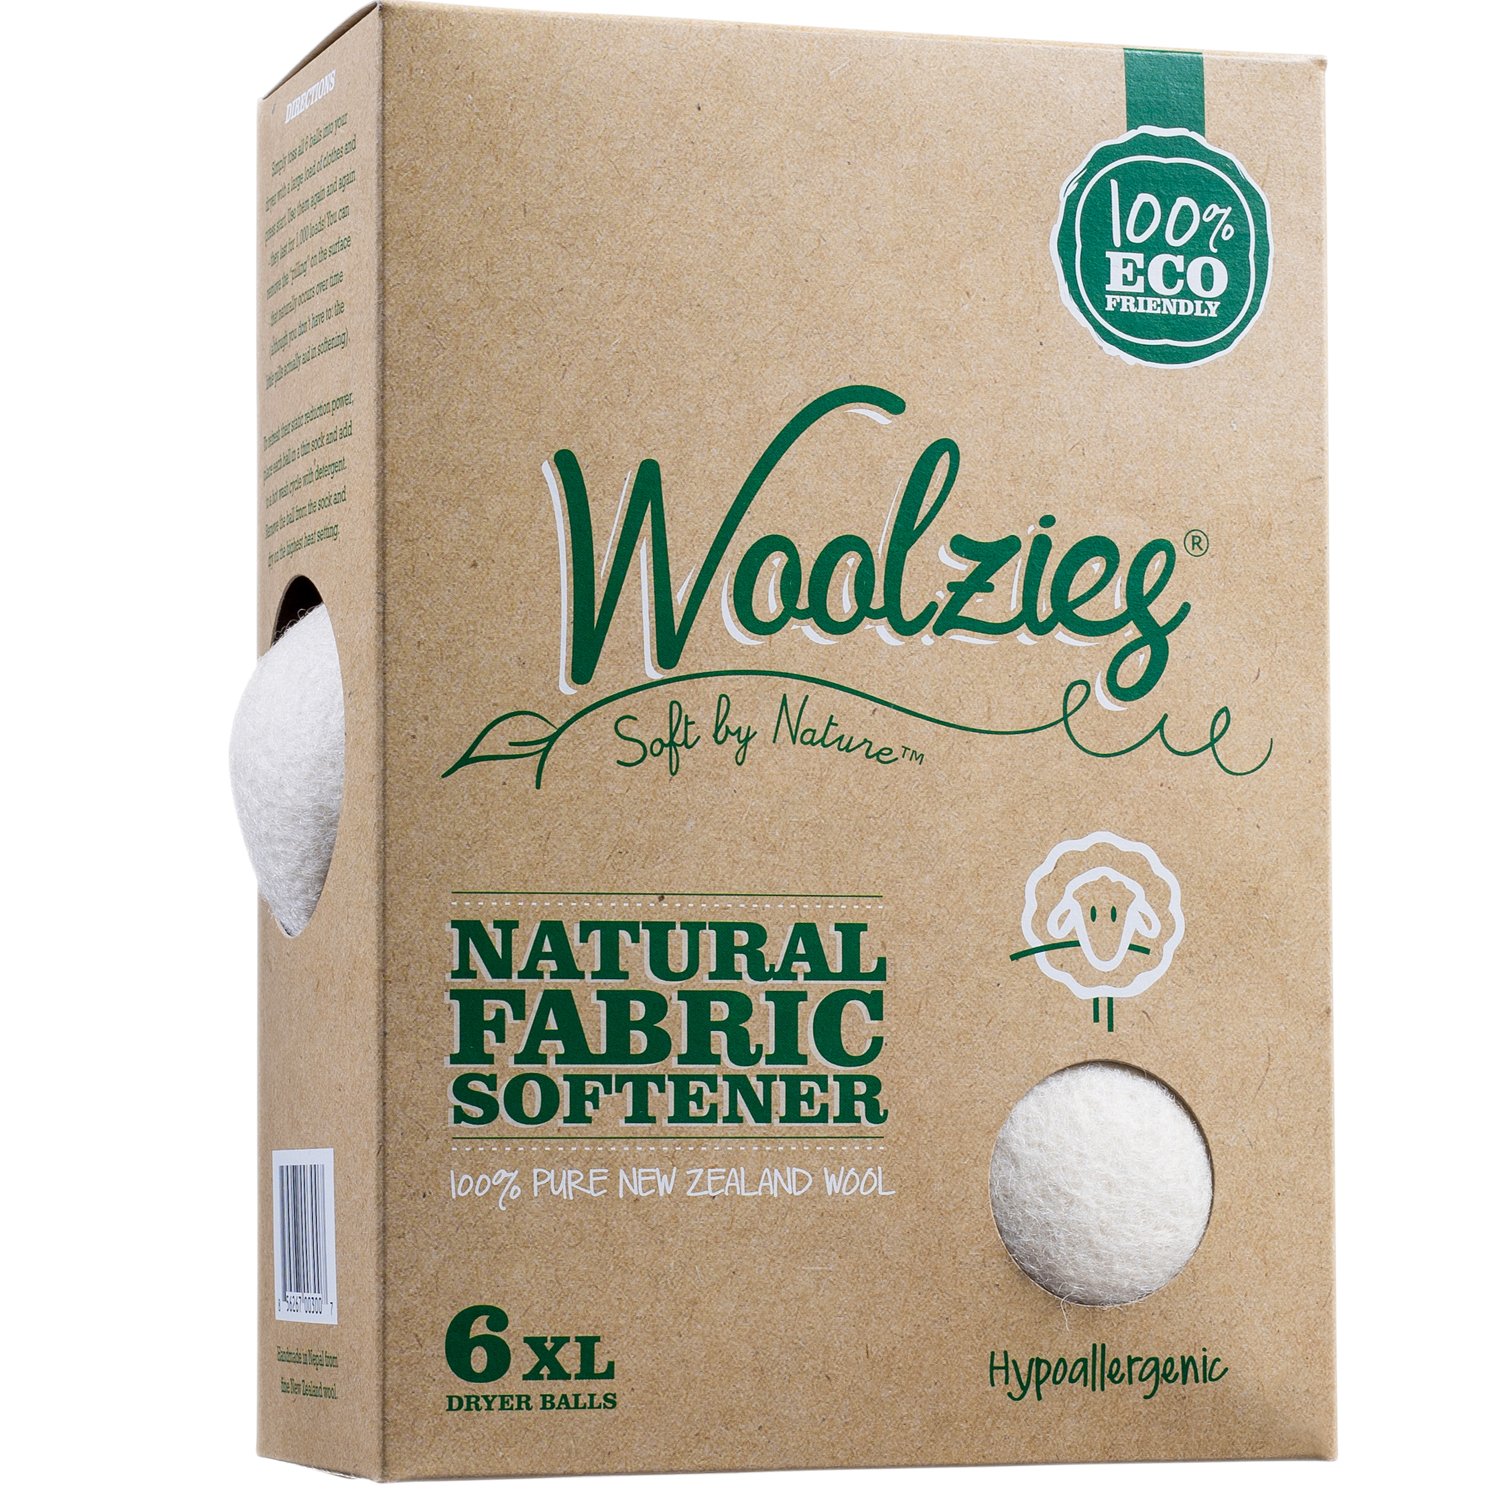 Laundry detergent was one of the most difficult things to find back when we started our journey towards all natural. It also was the most important because of course clothing rests right on the skin and would cause instant rashes to break out. The worst was fabric softener or dryer sheets so I haven't used those in nine years but instead use Wool Dryer Balls which work just as well and has the bonus of keeping being all natural. Click HERE to buy them. They really are a great investment. I have had mine for SIX years and they are still working to soften my laundry. To add scent just put a few drops of your favorite essential oil on them.
 Back to the laundry detergent. I read on several blogs on how ladies made their own and how it was not only all natural, but also ridiculously cheap working out to less than 10 cents per load! For some reason I never tried it, mainly thinking it would be to complicated, would take lots of time, and it would not work as well as store bought. Well I was wrong on all counts! It takes me about ten minutes to make it and the stuff works great and leaves a very pleasing scent on the clothes. This is nice because we haven't been able to use fragrance on our clothes since eldest son was born. Oh and of course it has not aggravated a eczema breakout in the least! Click HERE for a complete package deal.


 I am a dog lover. I think my first best friend was a dog, and growing up the comfort of my dogs unconditional love and understanding was a God send. We now have two dogs. A large golden lab, and a mixed small breed. The small dog Lizzy is a terrier mix and loves to roam. She was raised on a farm so we are now having to train her to not run off when outside. So when Dog Fence DIY contacted me about their inexpensive fencing system I was really interested!
 Can be used in a variety of ways to keep your dogs safe, keep them out of the chicken yard, keep them out of your garden, or out of a pasture of animals
 It’s so important to invest in the safety of your pets. If you’re a dog owner, fencing in your property may be necessary to keep them out of harm’s way. Traditional fencing, however, can be expensive, especially if you have a large yard. An invisible dog fence is another option that’s relatively inexpensive. Let’s take a look at the average invisible fence cost.
  When selecting an invisible dog fence for your yard, the biggest expense is purchasing the system itself. Typically, an invisible fence system comes with the main fence unit, 500 feet of boundary wire, and one e-collar. The cost of the system varies, but the most popular invisible dog fence, the PetSafe YardMax, is approximately $300. Other fences may cost slightly less or slightly more. Wireless dog fence systems tend to be a little more expensive, up to $800 total.
  -E-collars: You will need one e-collar for each of your dogs. Some dog fences have limits on the number of e-collars they can support at a time, but many underground dog fences can be used with an unlimited number of e-collars/dogs. If you have a dog that weighs less than 10 pounds, or if you have a particularly aggressive/stubborn dog, you may need to purchase a specialized e-collar that uses a lower or higher correction level, respectively. E-collars usually cost about $60-$100 each.
  -E-collar Batteries: Many e-collars are rechargeable, in which case extra batteries are not required. If your system uses replaceable batteries, however, you’ll need to purchase 2-4 replacements per year. E-collar batteries usually cost about $7-$10 each, for a total of $14-40 per year.
  -Boundary Wire: If you need to enclose a perimeter that’s a total of more than 500 feet, you’ll need to purchase extra boundary wire. Depending on the type of wire used, it will cost approximately $22-$150 per every additional 500 feet.
  Most people are surprised to learn that an electronic dog fence does not cost that much money to run on a daily basis. For an average-sized yard, you can expect your electric bill to raise only about $1-2 per month. If you do not have an electrical outlet in a convenient place outside, you can purchase a solar panel for about $100-$200. In this case, your dog fence will be solar-powered and will not use any extra electricity. If you install your own electric dog fence, you’ll also be able to repair any breaks in the wire that may occur, which is rare. Professional technicians will charge at least $100 just to find the problem, but you can do it on your own for little to no extra cost. In general, invisible dog fences are relatively maintenance-free.
  The average invisible dog fence system costs less than $300. If you require any extras or accessories, you may spend a couple hundred dollars more. Running the fence and buying replacement e-collar batteries, if necessary, can cost less than $50 per year. When you compare this to the average cost of a traditional fence - $1500-$2500 - the savings is obvious. If your yard is very large, you will save even more money with an electronic dog fence, because every additional 500 feet of wire is much less expensive than 500 feet of fence.
  With a DIY electric fence, you can save money without compromising the safety of your dog(s) or other animals like chickens, goats, and sheep. Some people even use them around their bees! No matter what your budget is, it’s possible to find a dog containment solution to fit your needs.


